Creating a Form Using AutoForm

To create a simple form in Access, you can use one of the AutoForm wizards. These wizards quickly arrange the fields from the selected table or query into an attractive form. In a form created with the AutoForm: Columnar Wizard, you see each record's data displayed vertically, and with the AutoForm: Tabular Wizard, you see each record's data horizontally. With the AutoForm: Datasheet Wizard, the form displays the records in Datasheet view. After you create a form, you can save and name it so that you can use it again. If you need a more custom form, you can use the Form Wizard to select the information you want to include from a variety of places.
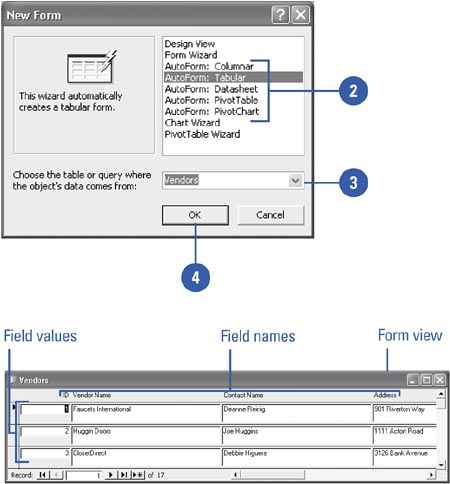
Create a Form Using the AutoForm Wizard
 | In the Database window, click Forms on the Objects bar, and then click the New button. |
 | Click the AutoForm you want to create. |
AutoForm:
Columnar to display records in a column.
AutoForm:
Tabular to display records in rows.
AutoForm:
Datasheet to display records in Datasheet view.
AutoForm:
PivotTable to display records in a PivotTable.
AutoForm:
PivotChart to display records in a PivotChart.
 | Click the list arrow, and then click the name of a table or query on which to base the form. |
 Click OK. Click OK.
After a moment, Access creates a form and displays it in Form view.
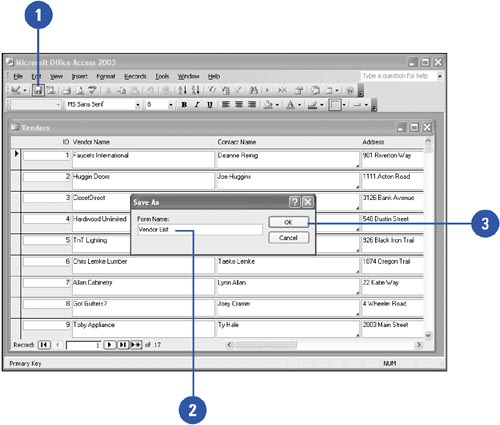
Save a New Form
| Display the new form in Form view, and then click the Save button on the Form View toolbar. |
| Type the name of your form. |
| Click OK. |
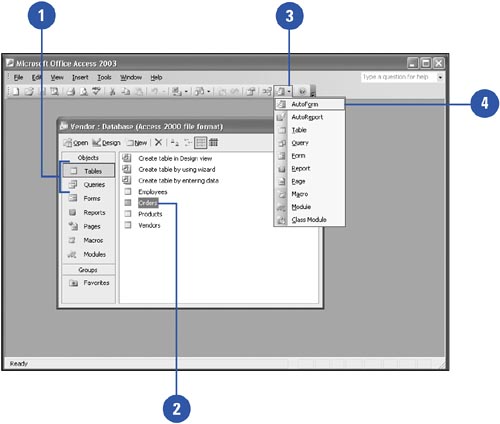
Create an AutoForm
| In the Database window, click Tables or Queries on the Objects bar. |
| Click the table or query in which you want to create an AutoForm. |
| Click the New Object button list arrow on the Database toolbar. |
| Click AutoForm. |
|