Inserting a Picture
You can insert interesting visuals, such as pictures, into your forms and reports or even fields. For example, in an employee table a field could contain employee photos. Or a field might contain a Word document that is a recent performance review. When you run a report that includes this field, the report will display the contents of the field. In Datasheet view, you can double-click the field to display the field's contents.
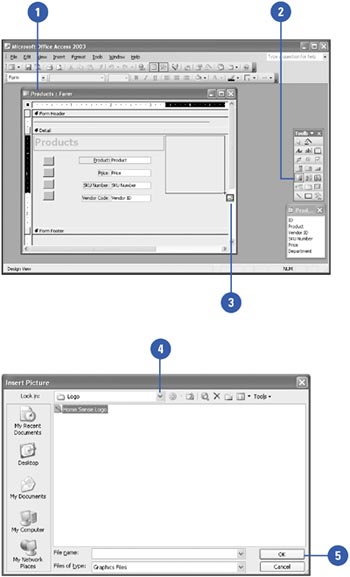
Insert a Graphic File
 | Display the form or report in Design view. |
 | Click the Image button on the Toolbox. |
 | Drag a rectangle where you want the picture to appear. Make the rectangle approximately the same size as the picture you will insert. |
 Click the Look In list arrow, and then locate the drive and folder containing the picture you want to insert. Click the Look In list arrow, and then locate the drive and folder containing the picture you want to insert.
For example, if you want to insert a picture from the clip art collection provided with Office, open the Clip Art folder in the Office folder.  | Click the file you want to insert, and then click OK. |
 | If necessary, drag the sizing handles to resize the graphic as needed. |
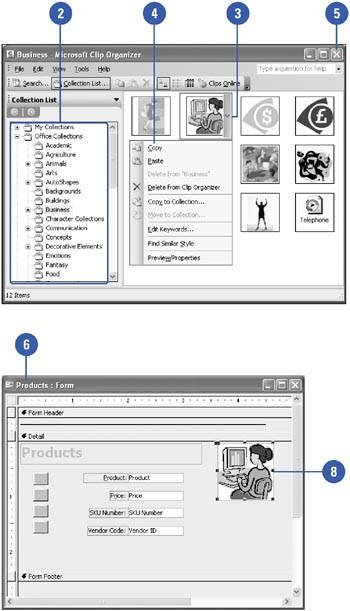
Insert a Clip Art Object
| Click the Start button, point to All Programs, point to Microsoft Office, point to Microsoft Office Tools, and then click Microsoft Clip Organizer. |
| Use the Collection pane to locate the clip art you want to use. |
| Point to the clip art, and then click the image list arrow. |
| Click Copy on the submenu. |
| Click the Close button. |
| Display the form or report in Design view in which you want to paste. |
 | Click the Paste button on the toolbar. |
 | Use the sizing handles to resize the clip art object. |
|
You can crop parts of a graphic that you want to hide.
Press and hold Shift, and then drag a sizing handle over the area you want to crop. To create more space around the graphic, drag the handle away (while holding down Shift) from the center of the graphic. |
 |