Customizing a Toolbar
You can create your own toolbars to increase your efficiency. You might, for example, create a toolbar that contains macros and other features that you use most often when you are performing a particular task, such as editing records in a table. You can change the properties of an existing Access toolbar or one that you create using the Customize dialog box, which allows you to control the toolbar's placement.
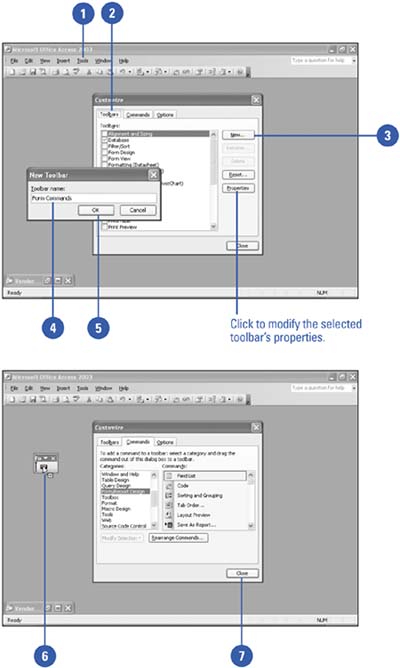
Create a New Toolbar
 | Click the Tools menu, and then click Customize. |
 | Click the Toolbars tab. |
 | Click New. |
 | Type a name for the new toolbar. |
 | Click OK. |
 | Add buttons to the new toolbar by dragging commands found on the Commands tab. |
 | Click Close. |
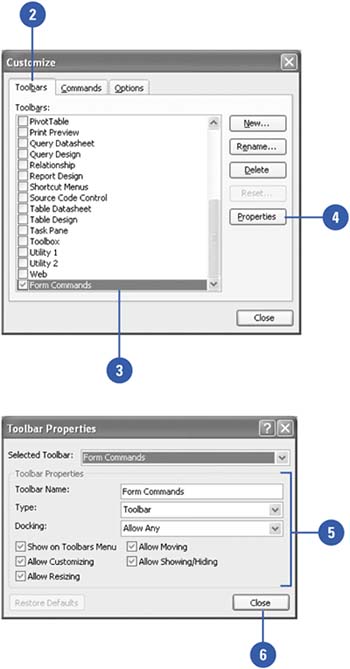
Change a Toolbar's Properties
| Click the View menu, and then click Customize. |
| Click the Toolbars tab. |
| Select the toolbar from the list. |
| Click the Properties button. |
| Modify the toolbar properties. |
| Click Close. |
|
The Undo button does not undo when you are customizing a toolbar.
Remember not to click the Undo button while you are customizing a toolbar. Rather than reversing the last change, clicking the Undo button selects the button so you can copy or move it. |
|