If more than one person is working on a project, each person might want to use specific colors for elements within the project. The and options enable you to set specific colors and subsequently get the colors in a different session, without having to remember RGB values.
Set a Project Custom Color
Follow the steps below to set your project's custom colors:
| 1. | Select an element to be colored. |
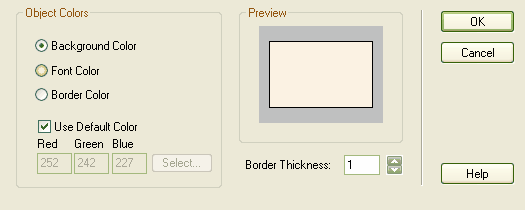
| 2. | Select the menu option. The Appearance dialog displays.
|
| 3. | Deselect the checkbox to enable the button. |
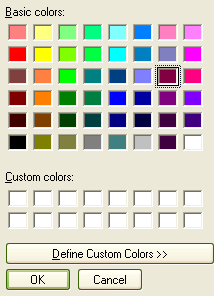
| 4. | Click on the button. The Color dialog displays.
|
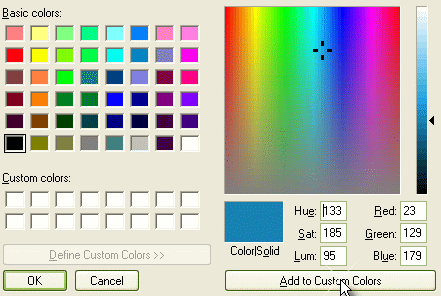
| 6. | Create the color in the color mixer panel on the right of the dialog.
|
| 7. | Click on the button to add the color to the blocks on the left hand side of the dialog.

|
| 8. | Click on the button to close the Color dialog, then click on the button to close the Appearance dialog. |
| 9. | Select the menu option to save the custom color you have created. |
Get a Project Custom Color
To get your project's custom colors, follow the steps below.
| 1. | Select the menu option. This applies any saved custom colors to this project. |
| 2. | Click on an element to be colored and select the menu option. The Configure Default Appearance dialog displays. |
| 3. | Deselect the checkbox to enable the button. |
| 4. | Click on the button to view the applied custom colors. They appear as circled below:

|
| 5. | Click on the required color and click on the button to close the Color dialog, then click on the button to close the Appearance dialog. The element changes to the required color. |


