To add a new diagram, follow the steps below:
| 1. | In the Project Browser window, select the appropriate package or element under which to place the diagram. |
| 2. | Do one of the following: |
| · | In the Project Browser toolbar click on the icon |
| · | Right-click to open the context menu and select the or menu option |
| · | Press and select the or menu option, or |
| · | Select the menu option.
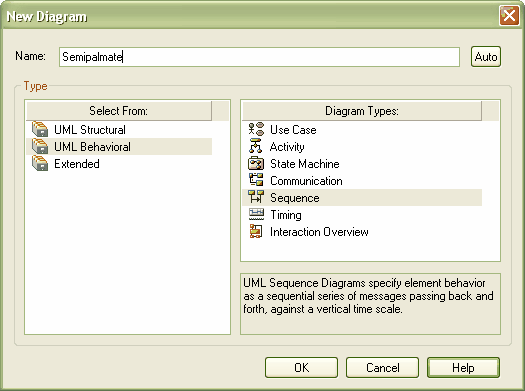
The New Diagram dialog displays.
|
| 3. | The field defaults to the name of the selected package or element; if necessary, type a different name for the new diagram. |
| 4. | In the Select From panel, click on the appropriate diagram category for the diagram. The Diagram Types panel displays a list of the diagram types within the selected category. |
| 5. | In the Diagram Types panel, click on the type of diagram to create. |
| 6. | Click on the button to create your new diagram. |
Note: The diagram type determines the default toolbar associated with the diagram and whether it can be set as a child of another element in the Project Browser window (eg. a Sequence diagram under a Use Case).
See Also


