


When you print a diagram, the default setting is to scale the image to fit the size of the printer paper you have defined in the page set-up. The image is not scaled up to fill the page, but it is scaled down if it exceeds the current page boundary. The image retains its current proportions; that is, it is scaled down equally in the X and Y dimensions. For a large diagram, this can mean that the components of the diagram are small and hard to read.
Alternatively, you can print a multi-page image; that is:
| · | allow the diagram image to print on as many printer pages as it naturally occupies, (no scaling), or |
| · | scale the diagram image to exactly fit a specified number of pages; |
In all three cases you also define the paper size and orientation.
Scale Images
To turn off or customize image scaling options, follow the steps below:
| 1. | Select the diagram to scale. |
| 2. | Double-click on the diagram background to display the <type> Diagram: <name> dialog, or right-click on the background and select the Properties option from the context menu. |
| 3. | Click on the Diagram tab and, in the Page Setup panel click on the Advanced button.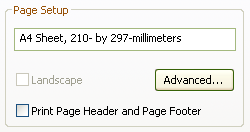 The Print Advanced dialog displays. 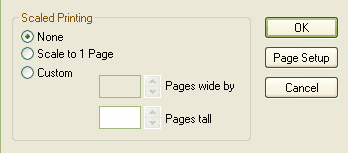 |
From the Print Advanced dialog the following options are available:
| · | None: select to print on as many pages as the diagram image covers |
| · | Scale to 1 page: select to scale the diagram image to fit on the currently selected page |
| · | Custom: select to specify the width and height of the diagram images across a specified amount of pages |
| · | Page Setup: click to select the page size and alignment. |
Note: Before printing, make sure you have selected the required page layout using the Page Setup button.
See Also