This chapter guides you through the installation process. You should continue reading the next chapter to set up the system.

|
Important Note | |
|---|---|---|
|
Before you start installing PortSight Secure Access on your computer, please make sure your system fulfills the system requirements specified in the previous chapter. |
||
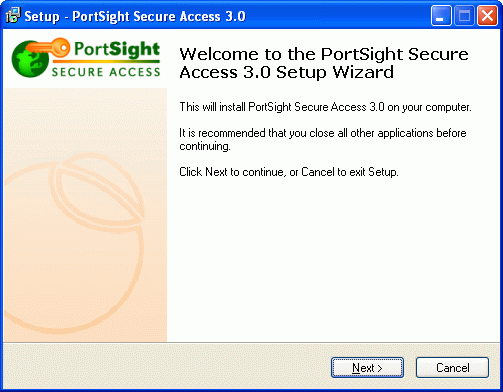
Run the installer on your Web server. This installer will only copy files on your disk and (optionally) register the help files in the Visual Studio.NET Combined Collection Help. Click "Next" in the introductory screen.
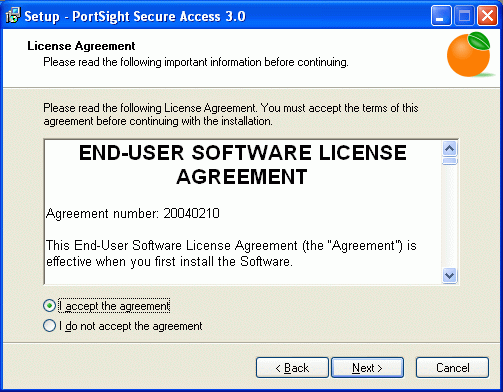
Read the license agreement and if you agree, choose "I accept the agreement" and click "Next".
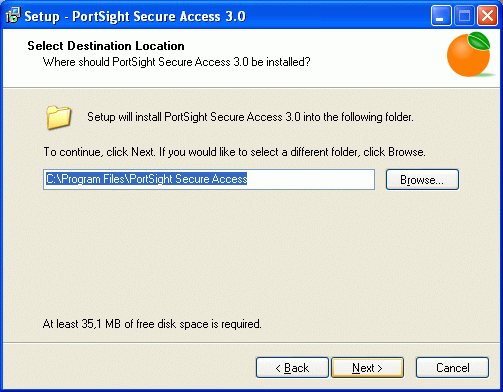
Select destination directory, where the application files are to be placed and click "Next". Version 2.0 will be installed in the 2.0 subfolder so that you can run both versions simultaneously.
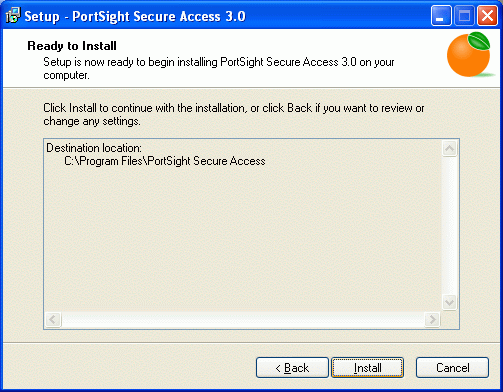
Check the installation parameters and choose "Install" if you're satisfied.
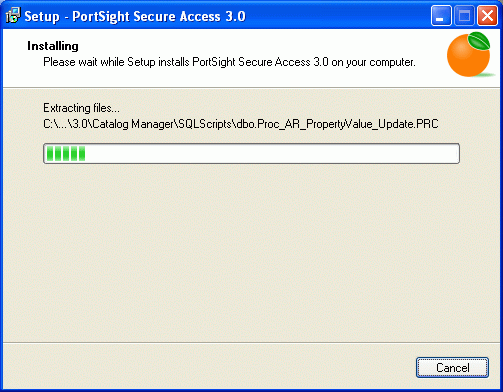
Wait until the installation is finished.
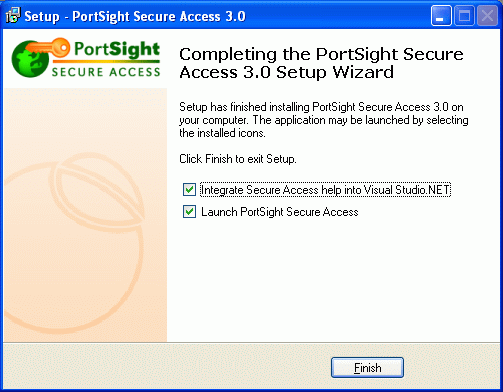
Now that the application has been installed on your computer you can choose if you want to register the Secure Access Classes Reference help. It's recommended that you choose yes if you use the computer for development and have Visual Studio.NET installed. You can also choose to launch the PortSight Secure Access Catalog Manager after the setup is finished.
Please continue by reading the chapter Creating a New User Catalog. It will show you how to create a new PortSight Secure Access catalog (user database) and deploy the administration interface.
